Login
You can manage your integration flows (start/stop) by logging in to your company’s InterWeave Flows Manager:
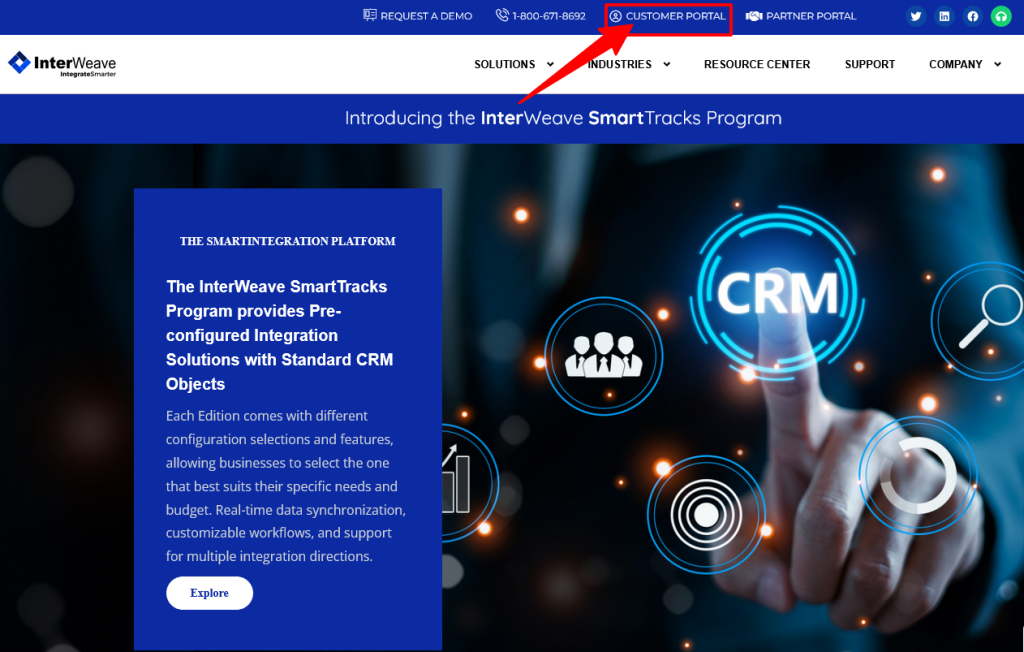
- Open the InterWeave website: https://interweave.biz/
- Click on the Customer Portal link
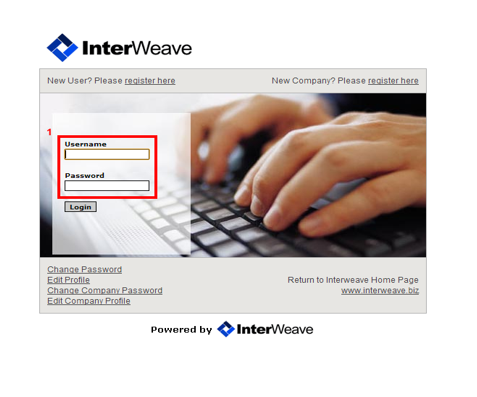
- On the next screen, enter the Username and password to log in to the Flows Manager:
InterWeave Integration Basics
InterWeave operates based on “flows,” which are batch processes that transfer specific subsets of data from one system to another.
Flows typically occur between a customer’s CRM (e.g., Salesforce.com) or website and the InterWeave community server on one side, and between the InterWeave community server and the customer’s QuickBooks server on the other side.
For this integration, InterWeave utilizes CRM users with administrative rights (e.g., Salesforce.com). Additionally, a dedicated QuickBooks user with administrative privileges is created specifically for integration purposes. Important: You should never log into QuickBooks using the InterWeave user. Doing so is not necessary and could be harmful.
If the QuickBooks server is hosted on-premises, the responsibility for connectivity lies with the customer.
Setting Up Your QuickBooks Server
To ensure smooth integration, follow these guidelines for setting up your QuickBooks server:
- Logged-In User: Ensure that the Windows user under which the QuickBooks application and QODBC Driver (with QRemote server app) or PCS (with Apache Tomcat server and Integration server) are installed is logged in whenever you need the integration to run.
- Run QuickBooks & Server: Both QuickBooks and the QRemote server (or Tomcat server for PCS) must be running.
- Multi-User Mode: QuickBooks should always be in multi-user mode during integration.
- Close QuickBooks Company File: Ensure the QuickBooks company file is closed.
- Disable Pop-Ups: No pop-up windows, including the company file login window, should appear in QuickBooks.
InterWeave Integration Flows
- Log In: Use the credentials of the InterWeave administrator (integration user) to log in to the InterWeave Flows Manager via the main login screen (enter username/email and password).
- View Flows: You will see a table with two partitions:
- Scheduled Flows (top): These are used for daily integration (production) purposes.
- Utility Flows (bottom): These are used for testing, bulk loading, and catching up with missing data.
- Scheduled Flows: These flows are used for regular production data integration. You cannot use scheduled flows simultaneously with utility flows. Before running any utility flows, stop the scheduled flows.
- Utility Flows: Utility flows are meant for specific purposes such as testing, bulk loading, and syncing missing data. There are three types of utility flows:
- Binding Flows: Used for one-time binding between two systems (e.g.,
SFAcct2QBCustBind). - Bulk Load Flows: Used for loading large amounts of data, allowing you to specify a date range and batch size (e.g.,
QBCust2SFAcctDRorQBInvoices2SFAcctOppDRS). - Single Run Flows: Used for one-time transaction syncs or testing (e.g.,
QBCust2SFAcctNForQBInvoices2SFAcctOppN).
- Binding Flows: Used for one-time binding between two systems (e.g.,

Important Notes:
- Single utility flows do not support ampersands (&) or quotation marks (“) in their names.
- Flow intervals are measured in milliseconds (1 second = 1,000 milliseconds).
Managing Flows
- Starting a Flow: To start a flow, check the “START” checkbox next to the flow name, then click the “Submit” button located at the top or bottom of the table.
- Active Flows: Running flows (State = RUNNING) will be highlighted in magenta, while flows in a waiting state (State = STARTED) will appear in blue.
- Checking Status: To check the status of a flow, refresh the page by clicking “Submit” with no checkboxes selected.
- Stopping a Flow: To stop a flow, check the “STOP” checkbox next to the flow name, then click “Submit.” The stopped flow will turn white (State = STOPPED). If the flow turns yellow after stopping, it is completing its current run and will turn white when fully stopped.

How to Catch Up with Missing Data
If a scheduled transaction flow stops running for a few days, follow these steps to catch up:
- Ensure Connectivity: First, ensure that the connection to the QuickBooks company file is intact.
- Restart Scheduled Flow: Change the “Query Starts” field value to the current date before restarting the flow.
- Bulk Load to Catch Up: If the flow has stopped for more than 1-2 days, you must change the “Query Starts” date to the current date and use a bulk load utility flow (DR or DRS) to catch up with the missing data. Bulk load flows are designed to handle large amounts of data without overloading the integration server.
- Stop Scheduled Flows: Always stop scheduled flows and set their “Query Starts” date to the current date if it’s older than 1-2 days. Run only one bulk load flow at a time.
- Restart Scheduled Flows: Once bulk loading is complete, restart your scheduled flows.
Switching QuickBooks Company File to Single-User Mode
Follow these steps to switch your QuickBooks company file to single-user mode:
- Log in to the Flows Manager: Use your InterWeave username and password.
- Stop All Scheduled Flows: Make sure all flows turn white (State = STOPPED) before proceeding.
- Log into the QuickBooks Server: Ensure that the InterWeave user is not logged into the QuickBooks file. If necessary, log them out manually.
- Switch to Single-User Mode: Perform any required tasks.
- Return to Multi-User Mode: Once done, switch back to multi-user mode.
- Restart Scheduled Flows: Finally, log back into the Flows Manager and restart your scheduled flows.
By following these guidelines, you can ensure smooth operation of your InterWeave integration with QuickBooks, keeping both systems running efficiently and avoiding data discrepancies.